Crafting a heart cake is not only a creative culinary endeavor but also a heartfelt gesture that brings joy and love to any occasion. Whether it’s for Valentine’s Day, an anniversary, a birthday, or simply a way to express love, a heart-shaped cake adds charm and sweetness to the celebration. In this comprehensive guide, you will learn the step-by-step process to bake the perfect heart cake, including variations, pro tips, and even how to shape the cake without a heart-shaped pan. Furthermore, we’ll address common questions, share expert techniques, and inspire you with decoration ideas to elevate your cake. Let’s dive into this delightful journey of baking and artistry.
Table of Contents
How to Make a heart cake Step-by-Step
Making a heart cake may seem daunting at first, especially if you don’t have a specialized pan, but it’s surprisingly straightforward. This section will guide you through the ingredients, preparation steps, and essential techniques to ensure your cake turns out perfectly. By following these instructions, you’ll master the process with ease and confidence.
Ingredients You’ll Need for a Heart Cake
Choosing the right ingredients is the first step toward creating a delicious and visually stunning heart cake. Below is a detailed list of ingredients for a classic vanilla heart cake. Each component has been carefully selected to ensure a moist, flavorful, and structurally sound cake.
- All-Purpose Flour: 2 1/2 cups (sifted to prevent lumps and ensure a fine texture)
- Granulated Sugar: 1 3/4 cups (white sugar works best for a classic vanilla cake)
- Baking Powder: 1 tablespoon (to help the cake rise beautifully)
- Salt: 1/2 teaspoon (balances the sweetness and enhances flavor)
- Unsalted Butter: 3/4 cup (softened to room temperature for easy mixing)
- Eggs: 4 large (at room temperature to blend seamlessly with the batter)
- Whole Milk: 1 cup (adds moisture and richness to the cake)
- Vanilla Extract: 1 teaspoon (or more, for a stronger vanilla flavor)
- Optional Additions: Food coloring for festive hues, or cocoa powder for a chocolate variation.
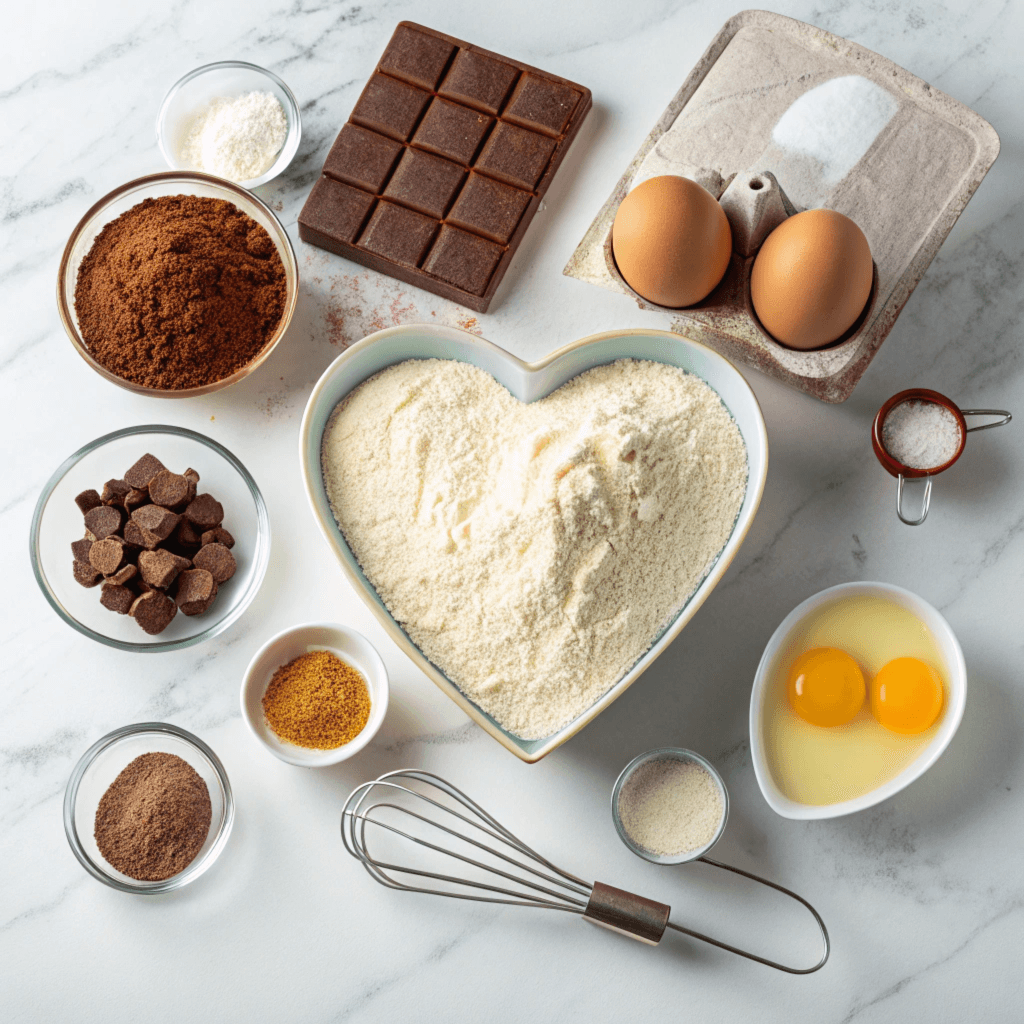
Preparation Steps: Creating the Foundation of Your Heart Cake
The process of preparation is an essential part of creating a perfect heart-shaped cake. For the most effective outcomes, you must follow these guidelines attentively, while allowing yourself time to take pleasure in the process of creating. Every step builds on each one before it, and making sure you take your time can result in an amazing cake that appears and taste amazing.
Step 1: Preheat the Oven
The first and foremost, you must heat your oven up to 350degF (175degC). The oven must be properly preheated crucial to guarantee even baking. As the oven is heating make sure you have all the items and make your baking equipment.
Step 2: Prepare Your Baking Pans
If you’ve got an oven that is heart-shaped, you can apply a light coating of butter or a nonstick spray and cover it with parchment paper to make it easy to remove. If you don’t own an oven that is heart-shaped but you don’t have to worry, there are other pans that can be used. Clean the round pan and one round pan because they will transform to a heart at a later time.
Step 3: Mix the Dry Ingredients
In a large bowl add the sifted flour as well as baking powder and salt. Mix these ingredients using the help of a whisk to spread the ingredients evenly. Sifting helps ensure that the batter remains lump-free and ensures that the leavening ingredients are evenly mixed.
Step 4: Cream the Butter and Sugar
In the large mixing bowl beat sugar, softened butter and sugar until it is the mixture is light and airy. Although it’s a simple process but is essential for making the perfect fluffy and soft cake. The cake should appear pale and light.
Step 5: Incorporate the Eggs
Make the eggs one at a and beat well following every addition. This slow incorporation stops curdling and assures a consistent, solid batter.
Step 6: Alternate Dry Ingredients and Milk
For a smooth consistency, mix in the dry ingredients into the butter mix in three separate parts. Alternate using the milk. Start and finish with dry ingredients. Mix with a gentle motion after each addition so that you don’t overwork the batter.
Step 7: Add Vanilla and Optional Coloring
Add the vanilla extract to add flavour. If using food coloring apply it right immediately and mix until desired color is created.
Step 8: Pour the Batter
The batter is divided evenly among the pans that you’ve prepared. If you are using pans that are square and round pans fill one half of the batter into each. Smooth out the tops using an ice cube to create that the layers are even.
Assembling Your Heart Cake: The Magic of Shapes
For those who don’t have the heart-shaped cake pan, making an ordinary round, square and circle cake shape is equally imaginative and enjoyable. Learn how to create an ideal heart-shaped shape using only a couple of steps.
- Cut Round Cake Round CakeOnce the cakes have been baked and cooling, cut the cake into the half using the help of a razor sharp knife. Make sure the cut is in a straight line to form two identical half-moons.
- Positioning the Pieces
The square cake should be placed on a serving plate with the one side facing downwards, making a diamond-shaped design. Place the two pieces of the round cake onto the top 2 sides. placing the edges of the diamond in a line to form an edging on the sides of your heart. - Securing the Shape
Apply a thin layer frosting to act as “glue” to hold the parts together. This method not only helps secure the cake, it can also make the surface ready to allow for a smooth finish of frosting.
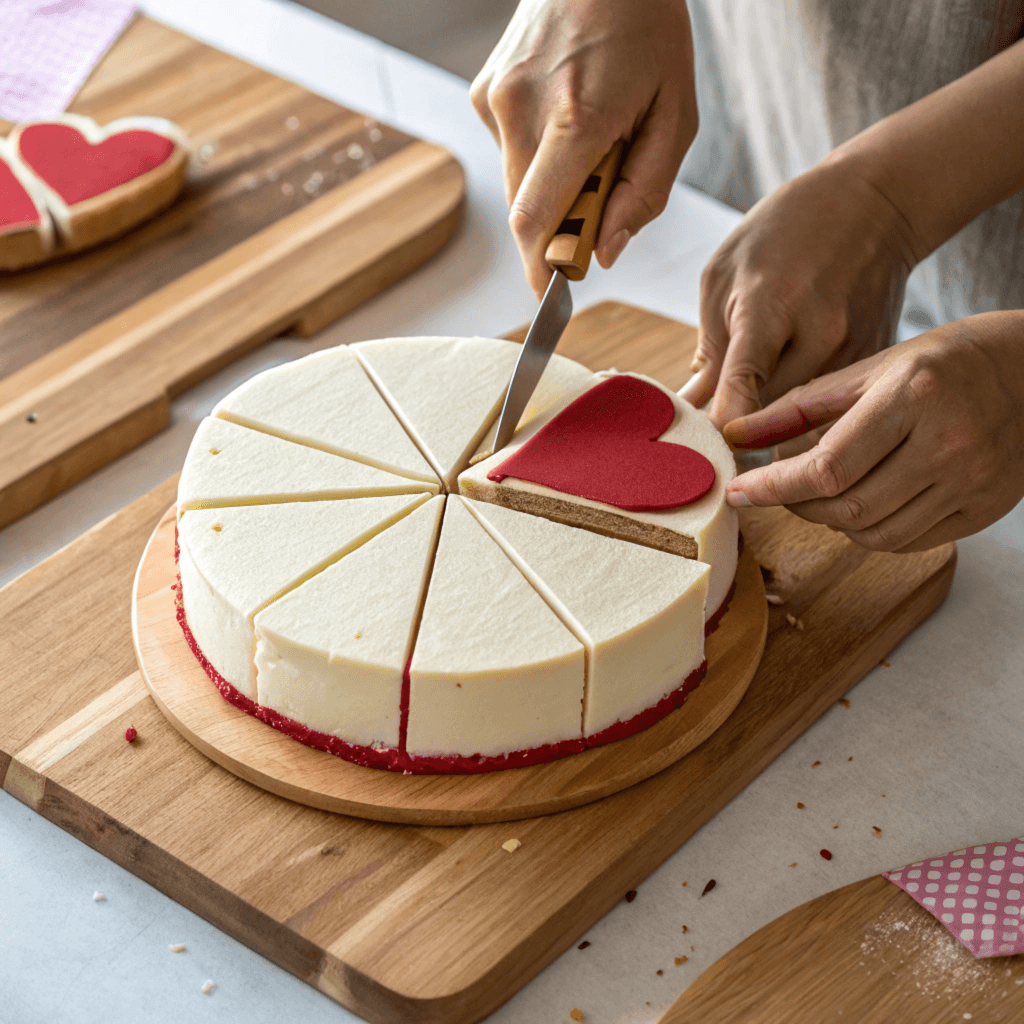
Cooking Instructions: Perfecting the Baking Process
The process of making your heart cake with perfection demands concentration on detail and perseverance. Use these steps to ensure an excellent final product:
- Bake the Cake Layers
Set the pans in the rack in the center in the oven. Bake for between 25 and 30 minutes and then begin checking for cookedness at around 22 minutes. Put a toothpick through the cake’s center and if it emerges clear, then the cake is baked. - Cool the Cakes
The cakes should cool completely in the pans for 10 minutes prior to transferring the cakes to the wire rack. The cakes must be completely cool to make it easy for construction and decorating. - Apply a Crumb Coat
A thin layer of frosting on the cake in order to catch crumbs and provide a smooth and even layer. Cool for about 15 to 30 minutes in order for the frosting to harden. - Design using Creativity
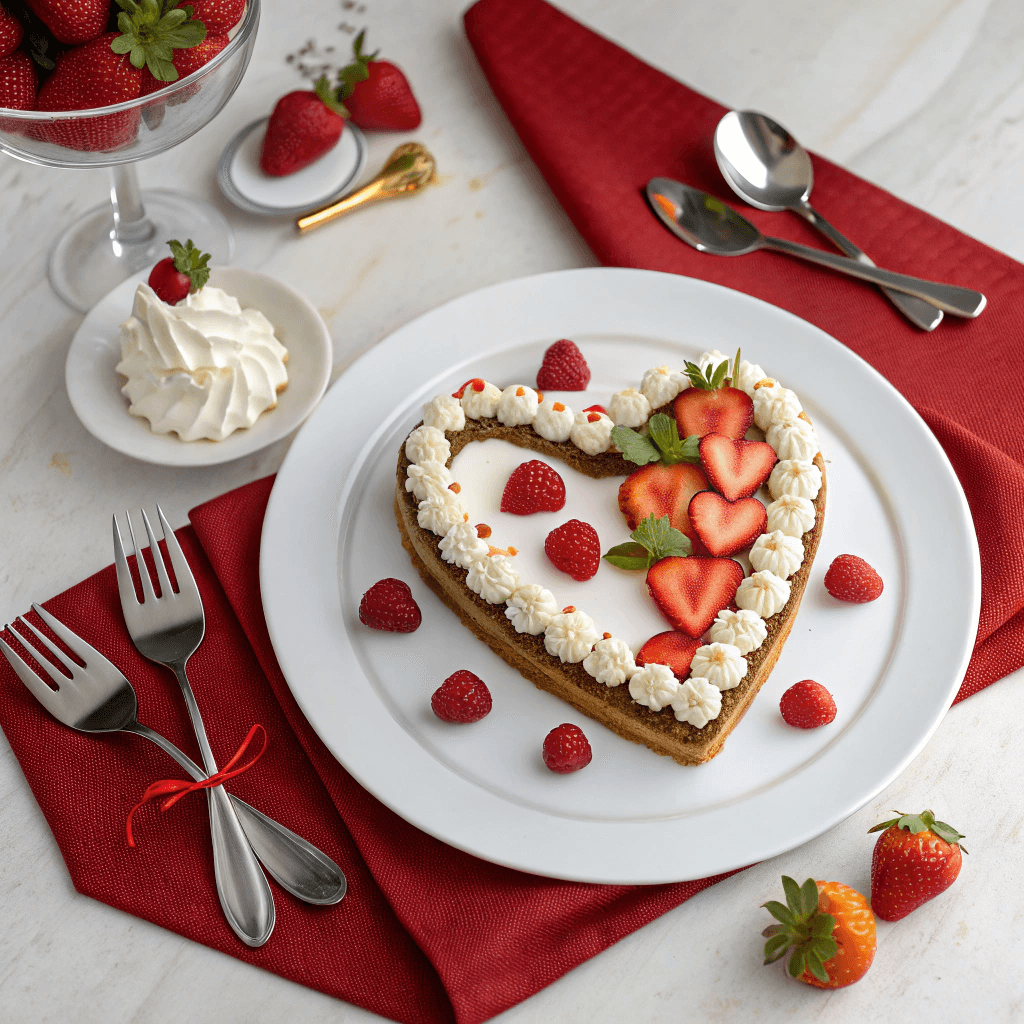
Decorate the cake using your preferred frosting. Use the spatula to make an uniform layer. Include decorations like sprinkles, flowers that are piped, or edible glitter to give it an added festive flair.
Using the Heart Cake to Celebrate Special Moments
Heart cakes aren’t just a sweet treat, but an emblem of affection and sincerity. If you’re making it for an intimate occasion or to make someone else happy the cake shows the love you have for them and your creativity. You can pair it with some other innovative dessert ideas such as the Baker’s German Chocolate Cake to create a theme-based spread for a themed buffet, or to serve as the main course of the celebration. There are many options to choose from!
Furthermore, the flexibility that the cake can offer makes it a great alternative for gatherings as it is a great match for a variety of types of flavors and designs. You can, for instance, pair the heart cake you have made by serving a refreshing and sweet dessert such as the Kefir Sheet Cake in order to give guests a wonderful assortment.
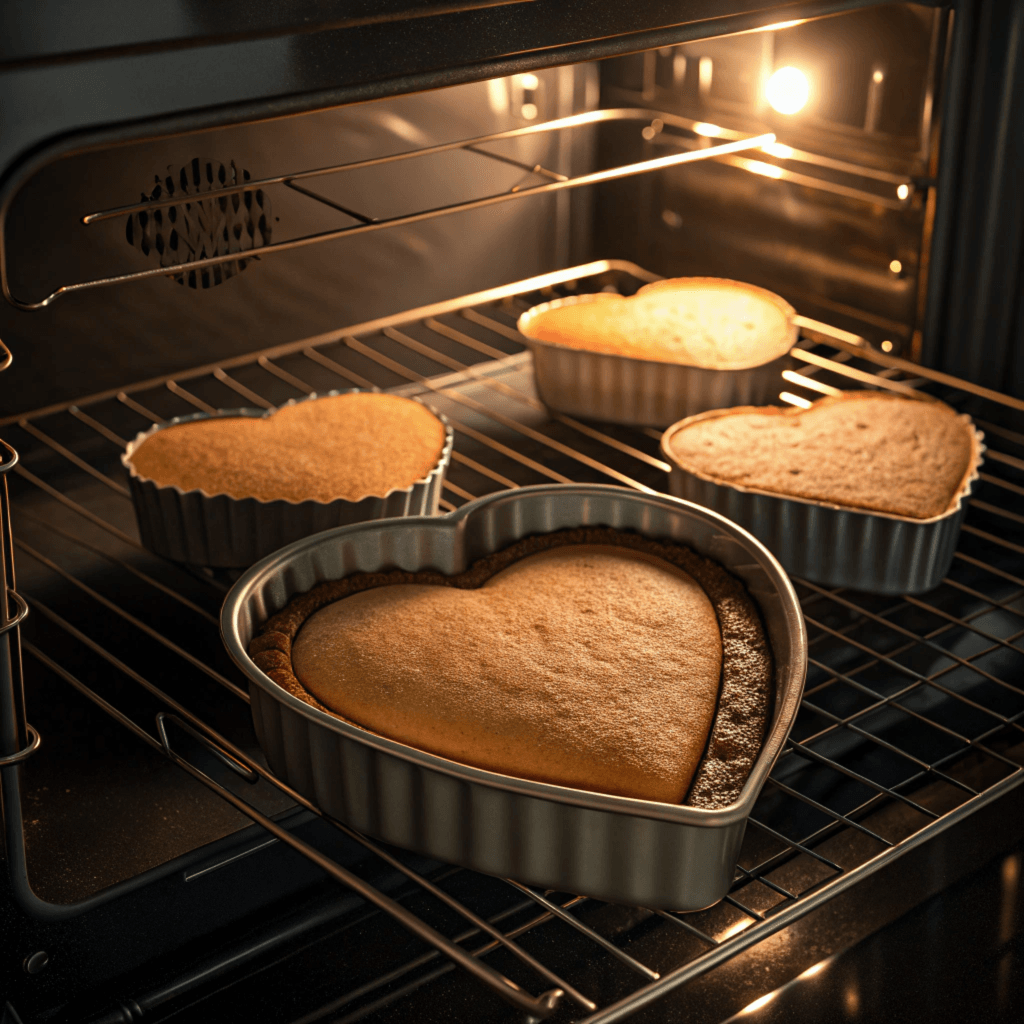
Final Touches and Decoration
Step 1: Frosting the Cake
The first step is to apply the smooth coating of frosting. It is commonly called”the crumb coat. This layer is thin and traps crumbs and provides a smooth base for the final frosting. To get the best result put your cake in the fridge for 20 mins for the crumb coat to dry.
Step 2: Adding the Final Frosting
Utilizing a spatula, or a piping bag, place the last layers of frosting. Smooth out the edges and the top to create a professional look. It is also possible to make use of texture tools to create designs, like stripes or waves.
3. Decorate in Stil
Decorate your cake with elements, such as sprinkles edible glitter or piped flower arrangements. If you want to add romance think about adding fresh roses or berries. Make your cake unique to the event, be it an event like a Valentine’s Day surprise or an anniversary celebration.
Step 4: Plating for Presentation
The finished heart cake can be placed on a serving tray. Decorate it with other decorations like tableware or candles to create a unique wow effect.
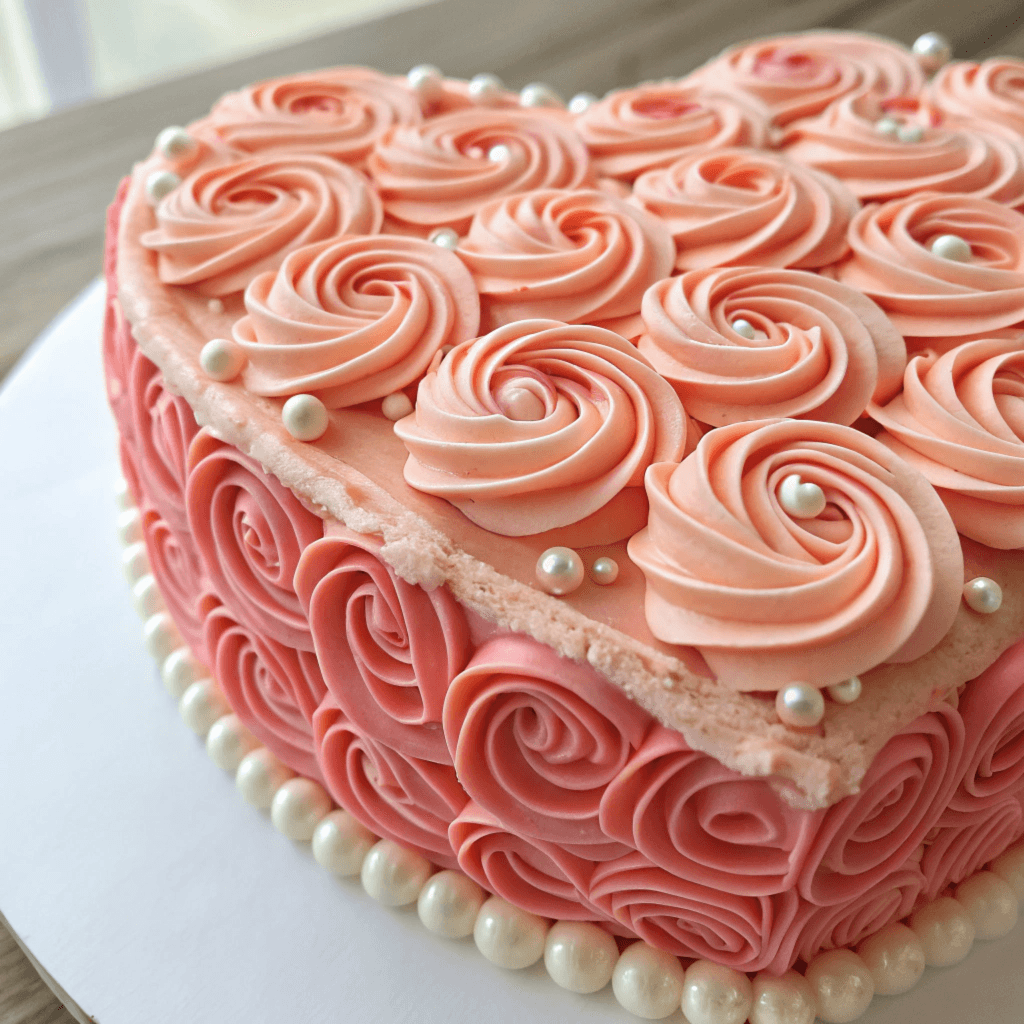
Pro Tips & Variations
If you want to make your love cake extra special look into these innovative techniques and innovative variants. These tips will allow you to adapt your cake for diverse tastes, diets, and occasions.
Flavor Variations
- Chocolate Heart Cake
Make a substitution of 1/2 cup the flour by cocoa powder to get an intense chocolate taste. Include mini chocolate chips in the batter to add extra oomph. - Lemon Heart Cake
Include 2 tablespoons of lemon zest and 1 tablespoon lemon juice into the batter. Serve with cream cheese frosting to add the perfect tangy taste. - Red Velvet Heart Cake
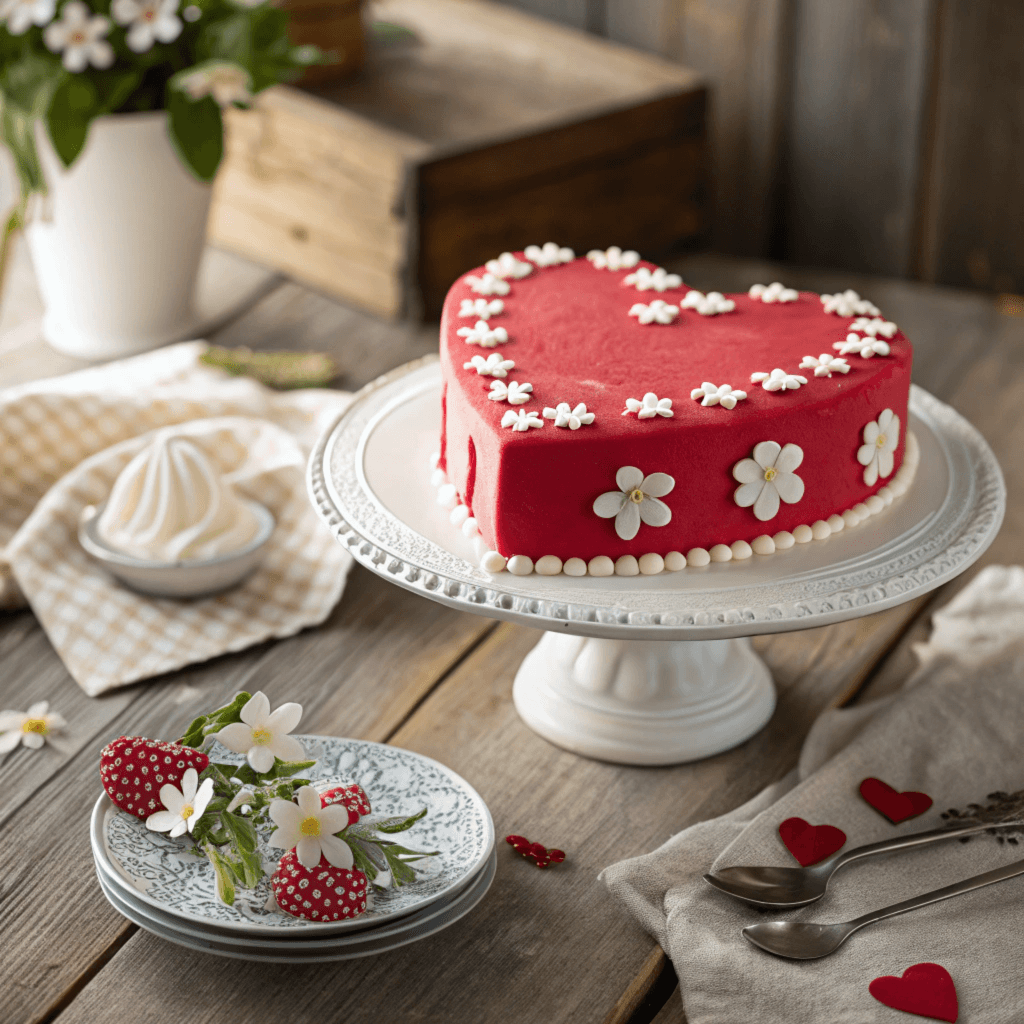
Include the red color of food coloring and the addition of cocoa powder to make a traditional dessert made of red velvet. Combine it with a cream cheese frosting to add a unique taste. - Gluten-Free or Vegan Options
Replace all-purpose flour with an ingredient that is gluten-free and utilize almond milk in place of dairy. To make a vegan-friendly cake, make use of flaxseed instead of eggs or applesauce.
Decoration Ideas
- Beautiful Design Utilize metallic food colorings in silver or gold to create a stunning look.
- themed cakes Include the colors and forms that are in sync with the theme of your party.
- edible art Make a mosaic using delicious frosting or pieces of candy.
Benefits of Making a Heart Cake
There are numerous reasons the heart-shaped cake is an excellent choice for parties. Below are a few that stand out:
- Emotional Connection
Heart-shaped cakes symbolize affection and sincerity, which makes it an ideal centerpiece for romantic events. - Customization Options
Heart cakes can be extremely versatile. They can be customized with the flavors, colors, and sizes to match the preferences of your guests. - Impress Guests
A deliciously decorated heart cake will be a sure conversation-starter and creates a lasting impression for the guests. - Cost-Effective and Fun
When you make your own cake, you’ll save the cost of baking and get pleasure from making something unique.
FAQs
How to do a heart-shaped cake?
If you want to make a heart-shaped dessert You can make it using an ice cream heart pan, or you can create the design using a circular and the square cake pan. If you choose to use the former then cut the round cake into two halves and arrange the pieces between the two side of the rectangular cake making the top curves in the form of a heart. Attach the cake pieces using frosting and smooth out the edges to create a an even finish.
Does Costco makes heart cakes?
It is true that Costco has heart-shaped desserts especially on Valentine’s Day. But, the availability of these cakes can vary in accordance with the where you live and the time of year. The cakes are available to be ordered in advance and personalized with images or messages and are a great choice.
How can you create heart-shaped cakes without the use of a pan with a heart shape?
If you don’t have a heart-shaped pan it is possible to use just one round pan and one pan that is round. After baking, cut the round cake into half and put the pieces across the side of the rectangular cake making a heart-shaped shape. Frost the cake in order to blend the cake pieces perfectly.
What is the cost of an 8-inch heart-shaped cake cost?
A heart cake that measures 6 inches usually will serve between 8 and 12 people, based upon the portion size. For large gatherings, you might want to consider making a double batch and stacking two heart cake and a frosting layer between them for extra dimension and portions.
What should I do to keep a heart cake in storage?
For storage of a heart-shaped cake, you can place it into an airtight container, or wrap it by plastic wrap. You can store it for up to 3 days or store it in a freezer for up-to a month. It should be brought to temperatures at room temperature prior to serving for the most delicious taste and consistency.
Can heart cakes be made gluten-free?
Absolutely! Choose a premium gluten-free flour mix and be sure all others ingredients that are made of gluten free. Heart cakes made of gluten-free flour are as tasty and visually pleasing as classic equivalents.
What is the top frostings to use on heart cakes?
Cream cheese, buttercream and whip ganache made with whipped cream are all great options. Make sure to match your frosting with the flavor of your cake for an delicious and harmonious flavor.
Conclusion
The heart-shaped cake is not just a cake, it’s an expression of passion, imagination, and celebration. It doesn’t matter if you’re creating cakes for special occasions or to simply spread happiness The process can be equally rewarding as the product. If you follow the steps of this article and using professional tips and alternatives, you’ll design a heart-shaped cake that is amazing, taste sensational, and leaves a lasting impression.
The process of creating the heart cake can be filled with chances to play and customize and show off your baking talents. When you’ve mastered the art of creating heart cakes, do not be afraid to explore new tastes as well as decorations and methods to make every individual. Take pleasure in the process and foremost, remember to make sure to share the creation with your family and friends. It’s a sweet treat which comes from your heart.
2 thoughts on “Heart Cake: Easy Steps to Create the Perfect Heart-Shaped Delight”