
Have you ever wondered why some sandwiches feel like they were made for royalty, while others are just… okay? The secret might lie in one iconic creation: the grinder sandwich. Imagine biting into layers of savory meats, melted cheese, crisp veggies, and tangy dressings—all nestled inside a perfectly toasted Italian loaf. Doesn’t that sound irresistible? But what exactly is a grinder sandwich, and how can you make one yourself? Let’s dive in and uncover the magic behind this classic dish.
The grinder sandwich isn’t just any ordinary sandwich—it’s a culinary masterpiece that combines bold flavors, contrasting textures, and endless customization options. Whether you’re new to cooking or a seasoned pro, this recipe is sure to become a staple in your kitchen. By the end of this guide, you’ll not only know what makes a grinder sandwich special but also have all the tools you need to create your very own version.
Overview: Why This Recipe Stands Out
A grinder sandwich is more than just lunch—it’s an experience. Whether you’re craving something hearty or looking to impress your friends at your next gathering, this recipe has got you covered. Best of all, it’s beginner-friendly! With simple steps and minimal prep time (about 20-30 minutes), even novice cooks can whip up a delicious grinder sandwich without breaking a sweat. Plus, its versatility means you can customize it however you like.
But what sets the grinder sandwich apart from other subs or hoagies? For starters, it often features a wider variety of ingredients, making it heartier and more filling. Think of it as the ultimate combination of Italian deli meats, cheeses, and fresh produce, all wrapped up in a crusty yet soft bread roll. And because you can tweak every element—from the type of bread to the choice of toppings—it’s easy to adapt to different tastes and dietary preferences.
If you’re short on time, don’t worry! The grinder sandwich is perfect for quick meals, meal prep, or even entertaining guests. Its straightforward preparation process ensures that you spend less time in the kitchen and more time enjoying your food.
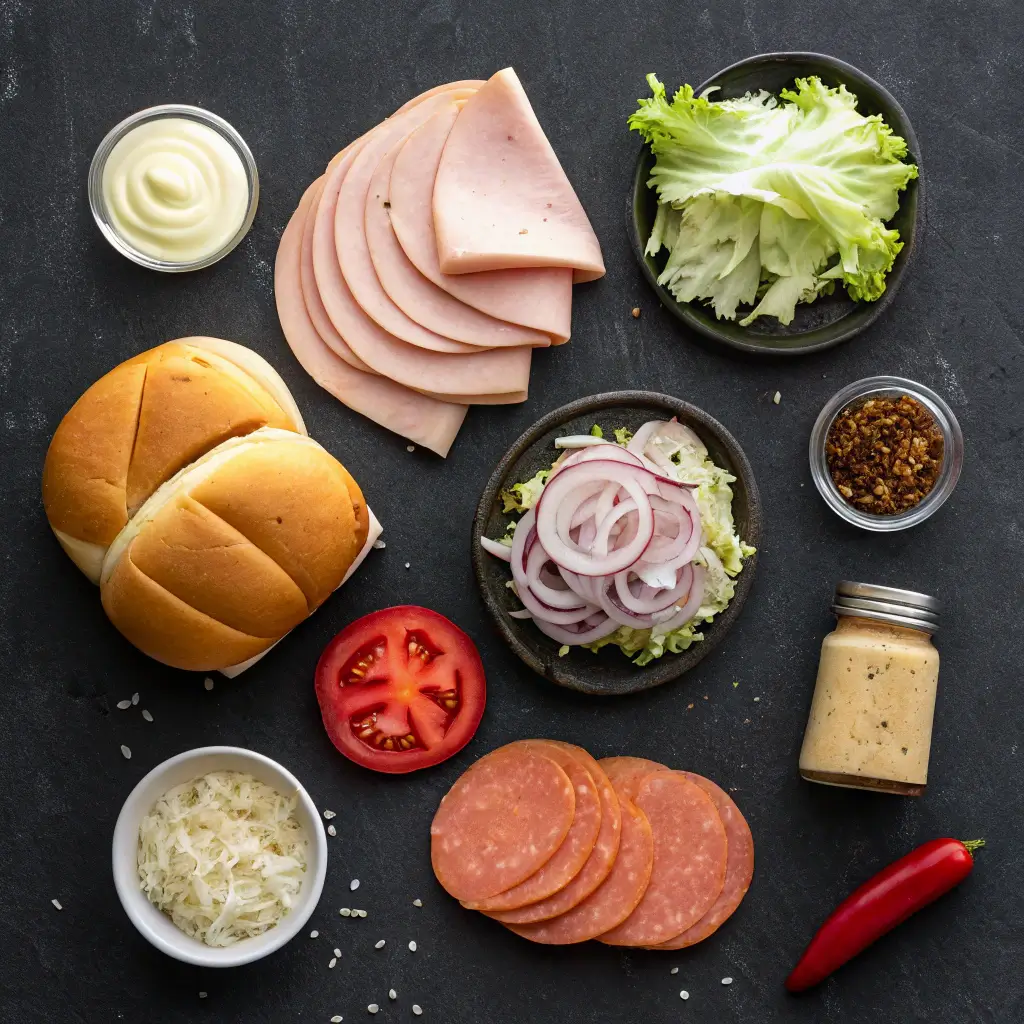
Essential Ingredients: Building Blocks of Flavor
The beauty of a grinder sandwich lies in its balance of flavors and textures. Here’s what you’ll need:
- Bread :
- A soft yet sturdy Italian loaf or hoagie roll works best. It holds up well to layering and toasting.
- Substitution tip: If you prefer gluten-free options, try using a gluten-free baguette or wrap instead.
- Meats :
- Classic choices include salami, pepperoni, turkey, ham, or roast beef. These provide rich, savory flavors.
- Pro-tip: Opt for high-quality deli meats for maximum taste 8.
- Cheese :
- Provolone, Havarti, or Colby Jack are popular picks because they melt beautifully and add creaminess.
- Swap with vegan cheese if you’re catering to dietary restrictions.
- Veggies :
- Fresh lettuce, tomatoes, onions, and banana peppers bring crunch and freshness.
- Feel free to experiment with roasted red peppers or pickles for extra zing.
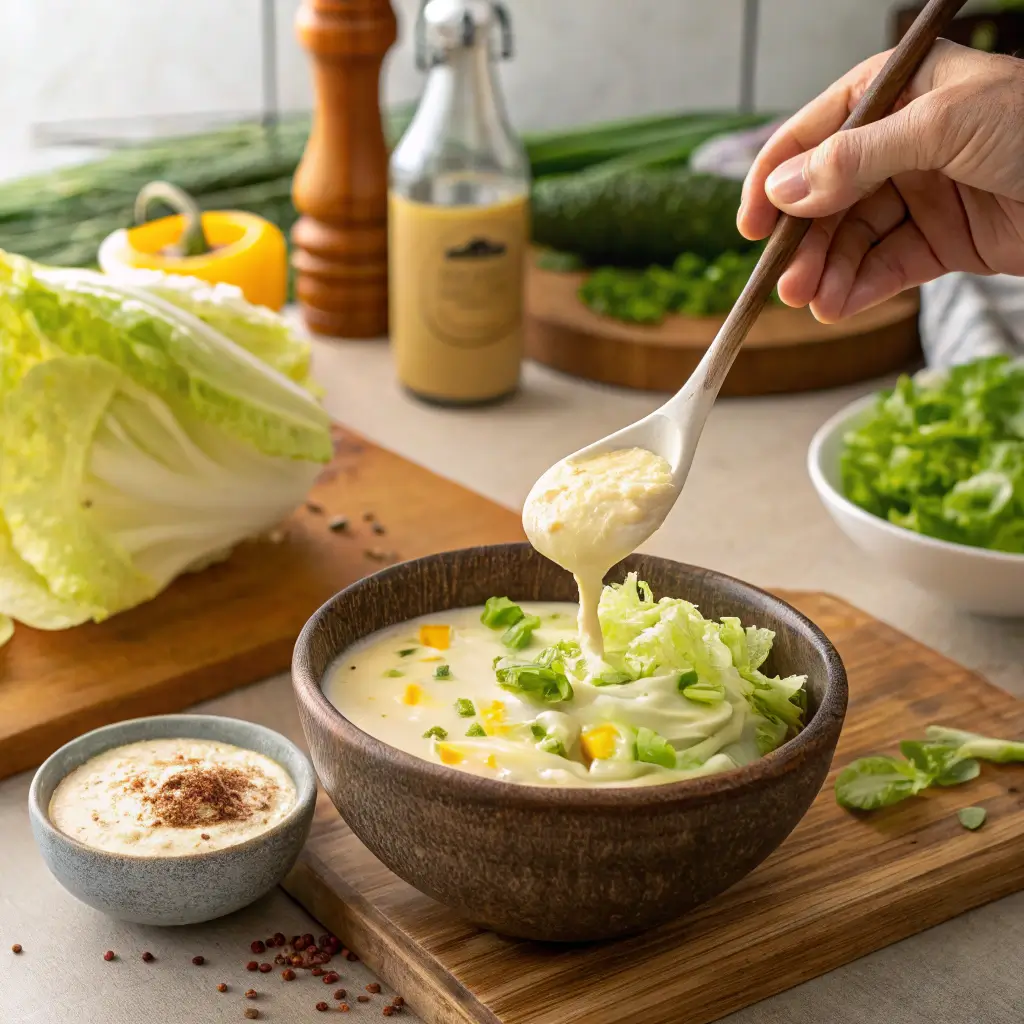
- Dressings and Spreads :
- Olive oil, vinegar, mayonnaise, or spicy Calabrian paste elevate the flavor profile.
- Customize based on your preference—go light or go bold!
- Extras :
- Add-ins like olives, capers, or arugula can take your grinder sandwich to gourmet levels.
Each ingredient plays a vital role in creating harmony within every bite. Don’t be afraid to mix and match!
Let’s break down each component further:
- Bread Selection : Choosing the right bread is crucial. An Italian loaf or hoagie roll provides the perfect balance of chewiness and crunch. Look for bread with a slightly crispy exterior and a soft interior. If you’re feeling adventurous, consider trying ciabatta or focaccia for a unique twist.
- Meat Choices : When selecting meats, aim for a mix of textures and flavors. For example, pair salty salami with mild turkey or smoky roast beef. Thinly sliced meats work best because they distribute evenly across the bread.
- Cheese Varieties : Cheese adds richness and depth to the sandwich. Provolone is a classic choice due to its mild flavor and excellent melting properties. However, if you want something sharper, go for aged cheddar or gouda.
- Vegetable Options : Fresh vegetables not only enhance the taste but also contribute to the overall texture. Crisp lettuce, juicy tomatoes, and tangy onions create a refreshing contrast to the savory meats and cheeses.
- Dressings and Spreads : The dressing ties everything together. A drizzle of olive oil and balsamic vinegar adds a Mediterranean flair, while mayonnaise offers creaminess. For those who love spice, a dash of hot sauce or sriracha can take your grinder sandwich to the next level.
Step-by-Step Instructions: Crafting Your Grinder Sandwich
Ready to get cooking? Follow these easy steps to create your own masterpiece:
- Prepare the Bread :
- Slice your Italian loaf or hoagie rolls lengthwise. Leave a hinge so the sandwich stays intact.
- Toast lightly in the oven or on a skillet until golden brown. This adds texture and prevents sogginess 9.
- Layer the Cheese :
- Place slices of your chosen cheese directly onto the warm bread. Let it sit for a minute to soften slightly.
- Add Meats :
- Pile on thin slices of deli meat evenly across the bread. Aim for variety—combine salty, smoky, and mild flavors for depth.
- Prep Veggies :
- Wash and slice fresh vegetables like tomatoes, cucumbers, and onions. Pat them dry to avoid excess moisture.
- Drizzle Dressings :
- Spread mayonnaise, olive oil, or any spread of choice generously over the bread. Drizzle balsamic vinegar or hot sauce for an extra kick.
- Toast Again (Optional) :
- For a melty, gooey finish, pop the assembled sandwich back into the oven for 2-3 minutes.
- Final Touches :
- Garnish with fresh herbs like basil or parsley for a pop of color and aroma.
Pro-tip: Keep everything organized by laying out your ingredients assembly-line style before starting.
Assembly: Bringing It All Together
Now comes the fun part—building your grinder sandwich! Start by spreading your dressing on both halves of the bread. Next, layer the meats, followed by the cheese. Top it off with vibrant veggies and any additional toppings you love. Close the sandwich gently, pressing down slightly to ensure everything stays in place.
For presentation, consider slicing the sandwich diagonally or into smaller portions for sharing. Serve alongside chips, coleslaw, or a side salad for a complete meal.
Here’s a helpful tip: If you’re making multiple sandwiches, assemble them on a large cutting board or tray. This way, you can keep track of your progress and ensure consistency across all servings.
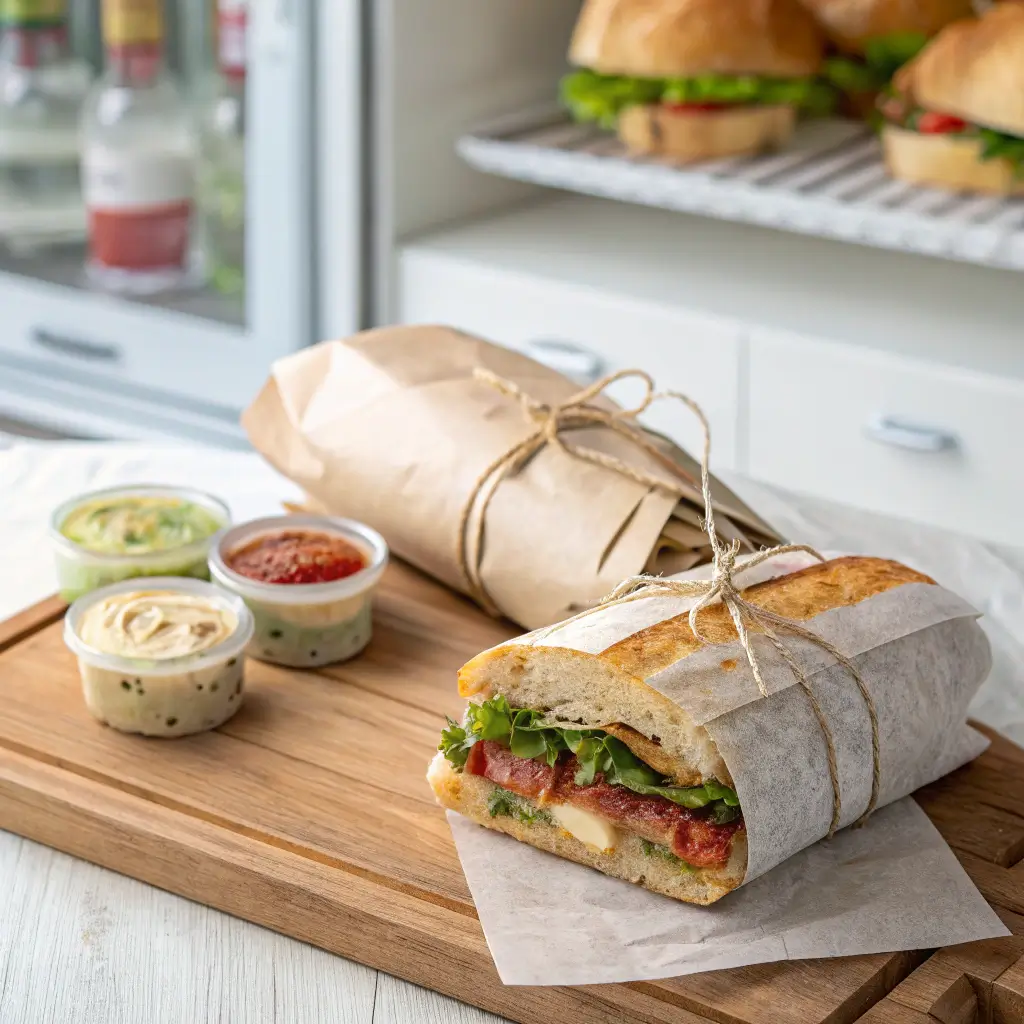
Storage and Make-Ahead Tips
If you’ve made too much (or planned ahead), here’s how to keep your grinder sandwich fresh:
- Short-Term Storage : Wrap tightly in plastic wrap or foil and store in the fridge for up to 24 hours. Reheat briefly in the oven to restore crispiness.
- Freezing Components : Freeze sliced meats and bread separately for future use. Avoid freezing assembled sandwiches as they may become soggy upon thawing.
- Quick Assembly : Prep ingredients like chopped veggies and spreads ahead of time. Store them in airtight containers in the fridge for quick assembly later.
For longer storage, consider portioning out individual components into meal prep containers. That way, you can grab what you need and assemble a fresh sandwich whenever hunger strikes.
Recipe Variations: Get Creative!
Why stick to tradition when you can innovate? Try these exciting twists:
- Vegetarian Option : Swap meats for grilled eggplant, zucchini, or marinated tofu.
- Spicy Kick : Add jalapeños, sriracha mayo, or pepperoncini for heat lovers.
- Breakfast Grinder : Use scrambled eggs, bacon, avocado, and cheddar cheese for a morning treat.
- Seafood Delight : Incorporate tuna salad, shrimp, or smoked salmon for a coastal vibe.
The possibilities are endless—let your imagination run wild!
Are you a Brisket Sandwich? Because you’ve got the perfect blend of smokin’ hot and melt-in-my-mouth tenderness.
Conclusion: Your Grinder Sandwich Adventure Awaits
There’s no denying it—a grinder sandwich is pure comfort food wrapped in crusty goodness. From its humble beginnings in New England to its current status as a global favorite, this sandwich continues to win hearts (and stomachs). So grab your ingredients, channel your inner chef, and start experimenting. Who knows? You might just stumble upon your new signature dish .

FAQs: Answering Your Burning Questions
Q: What makes a grinder sandwich different from a sub or hoagie?
A: While similar, the term “grinder” is commonly used in New England and often implies a heartier, more robust sandwich filled with multiple layers of meats and cheeses.
Q: Can I make this sandwich healthier?
A: Absolutely! Use whole-grain bread, lean proteins like turkey or chicken, and load up on veggies. Skip heavy dressings and opt for lighter alternatives like hummus or mustard.
Q: How long does it take to prepare?
A: About 20-30 minutes, depending on how elaborate you want to get. Most of the time is spent assembling ingredients.
Q: Are there vegetarian versions available?
Yes! Substitute meats with plant-based proteins like tempeh, seitan, or even chickpea salad.
Q: Can I freeze leftover grinder sandwiches?
It’s better to freeze individual components rather than fully assembled sandwiches to maintain quality.
With its quick prep time, endless customization options, and crowd-pleasing appeal, the grinder sandwich truly deserves a spot in your recipe repertoire. Now go forth and enjoy the deliciousness!