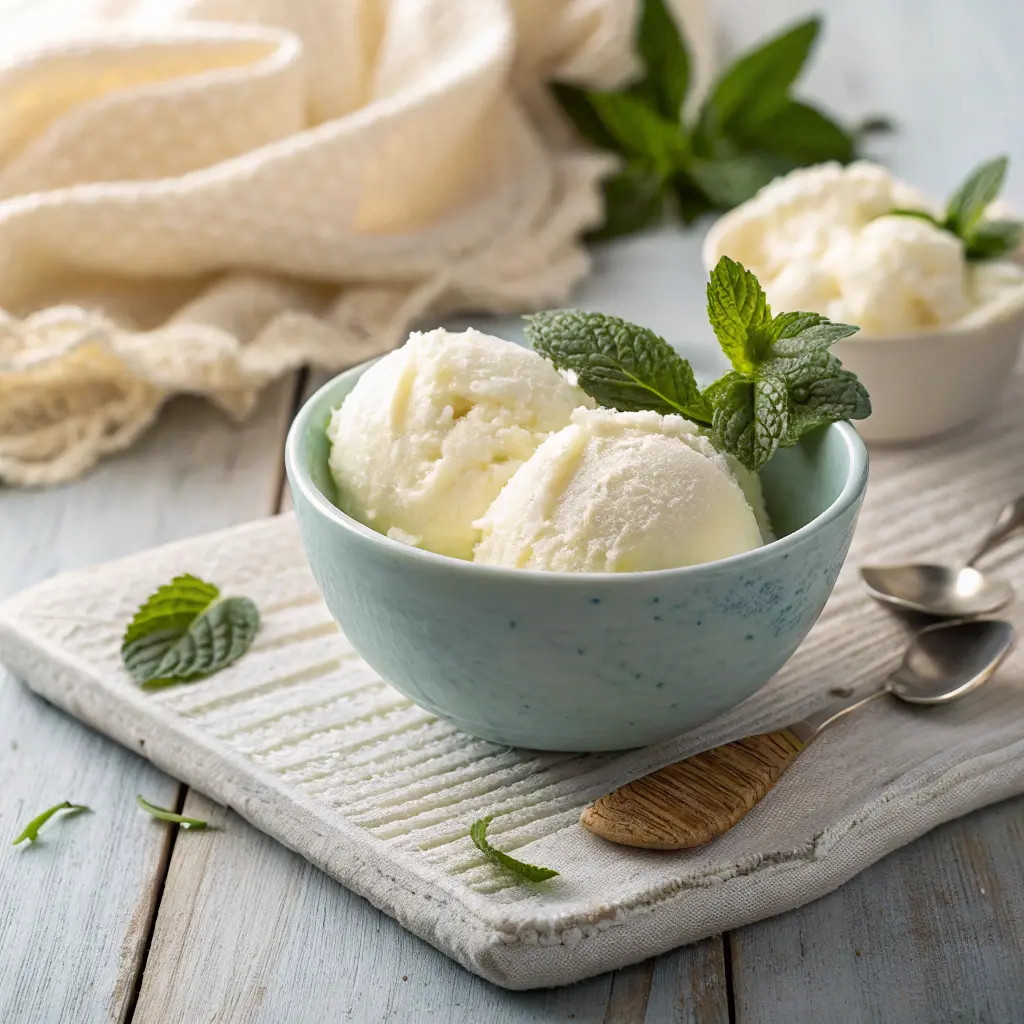
Have you ever looked outside at fresh fallen snow and wondered if you could transform that winter wonderland into something delicious? Snow cream is the magical answer you’ve been searching for! This simple, fun recipe turns ordinary snow into a delightful dessert that both kids and adults will love.
What Makes Snow Cream Special?
Snow cream is a charming winter treat that combines freshly fallen snow with just a few basic ingredients to create a delicious dessert similar to ice cream. What makes it truly special is:
- Quick preparation: You can make it in just 10 minutes!
- Easy difficulty level: Even kids can help make this recipe
- Minimal ingredients: Uses items you probably already have in your kitchen
- Fun factor: Creates magical winter memories with family and friends
- Seasonal uniqueness: Only available when it snows, making it extra special
Snow cream is perfect for snow days when you’re stuck at home and looking for a fun activity. It’s also a wonderful way to take advantage of clean, freshly fallen snow and turn it into a memorable treat.
Essential Ingredients for Snow Cream
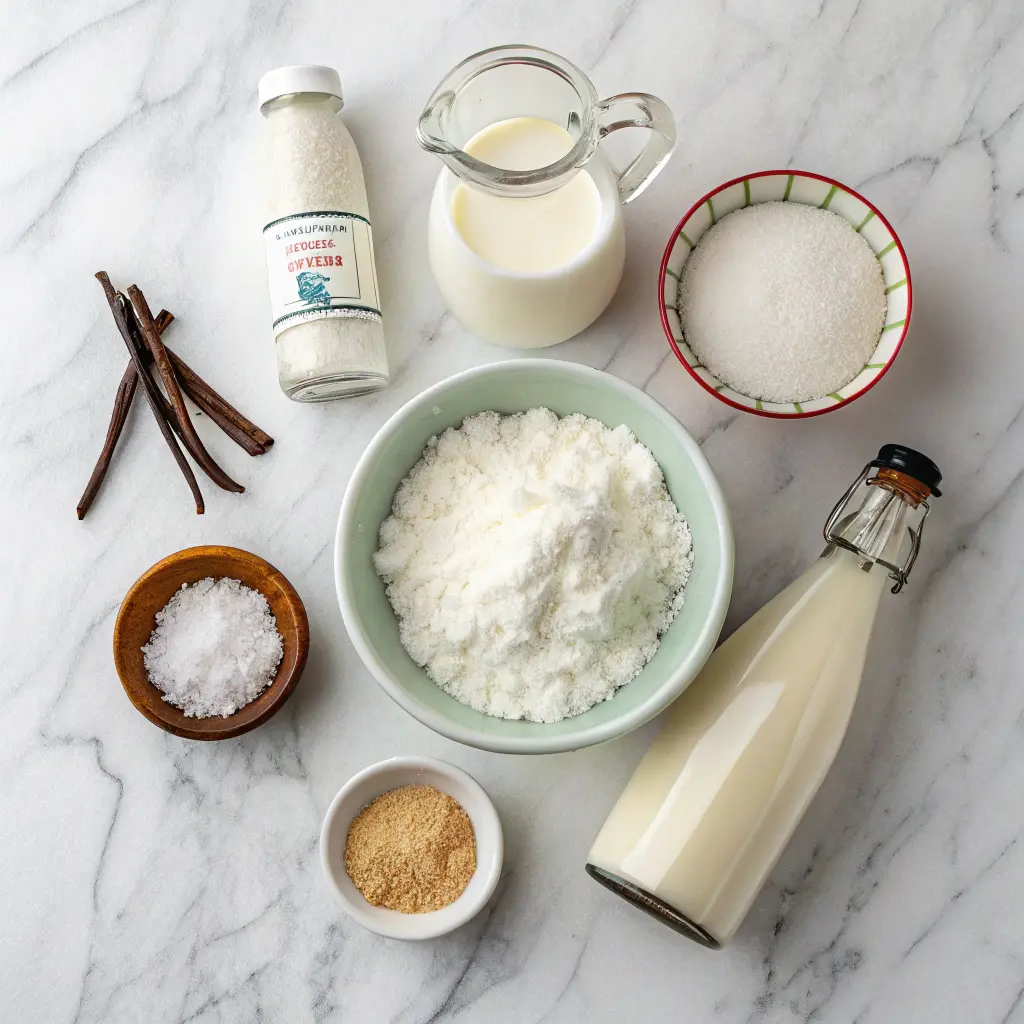
To make basic snow cream, you only need four simple ingredients:
Main Ingredients:
- 8-10 cups of clean, fresh snow: The star of the show! Look for fresh, fluffy snow that hasn’t been touched or walked on.
- 1 cup of milk: Provides creaminess and helps bind everything together.
- 1/3 cup of granulated sugar: Adds sweetness to balance the neutral snow.
- 1 teaspoon of vanilla extract: Gives your snow cream that classic vanilla flavor.
Why These Ingredients Matter
- Snow: Makes the base of your dessert. Fresh snow is fluffy and has the right consistency to absorb other flavors.
- Milk: Creates the creamy texture. Without it, you’d just have flavored snow instead of a creamy treat.
- Sugar: Provides essential sweetness. Snow by itself has no flavor, so sugar makes it tasty.
- Vanilla: Adds depth of flavor beyond just sweetness.
Substitutions and Variations
Don’t have these exact ingredients? No problem! Here are some easy substitutions:
- Milk alternatives: Use almond milk, oat milk, coconut milk, or any non-dairy milk you prefer
- Sugar alternatives: Try honey, maple syrup, agave nectar, or stevia (adjust amounts to taste)
- Flavor variations: Replace vanilla with almond extract, mint extract, or any flavor you enjoy
If you want to make chocolate snow cream, simply add 2-3 tablespoons of cocoa powder to the milk mixture before combining with snow.
Step-by-Step Instructions
Gathering Snow
- Wait for fresh snowfall: For the best snow cream, use snow that has just fallen and hasn’t been contaminated.
- Find clean snow: Collect snow from elevated areas like tables or untouched areas. Avoid snow near roads or walkways.
- Gather quickly: Have a large bowl ready and collect 8-10 cups of snow right away.
Preparing the Mixture
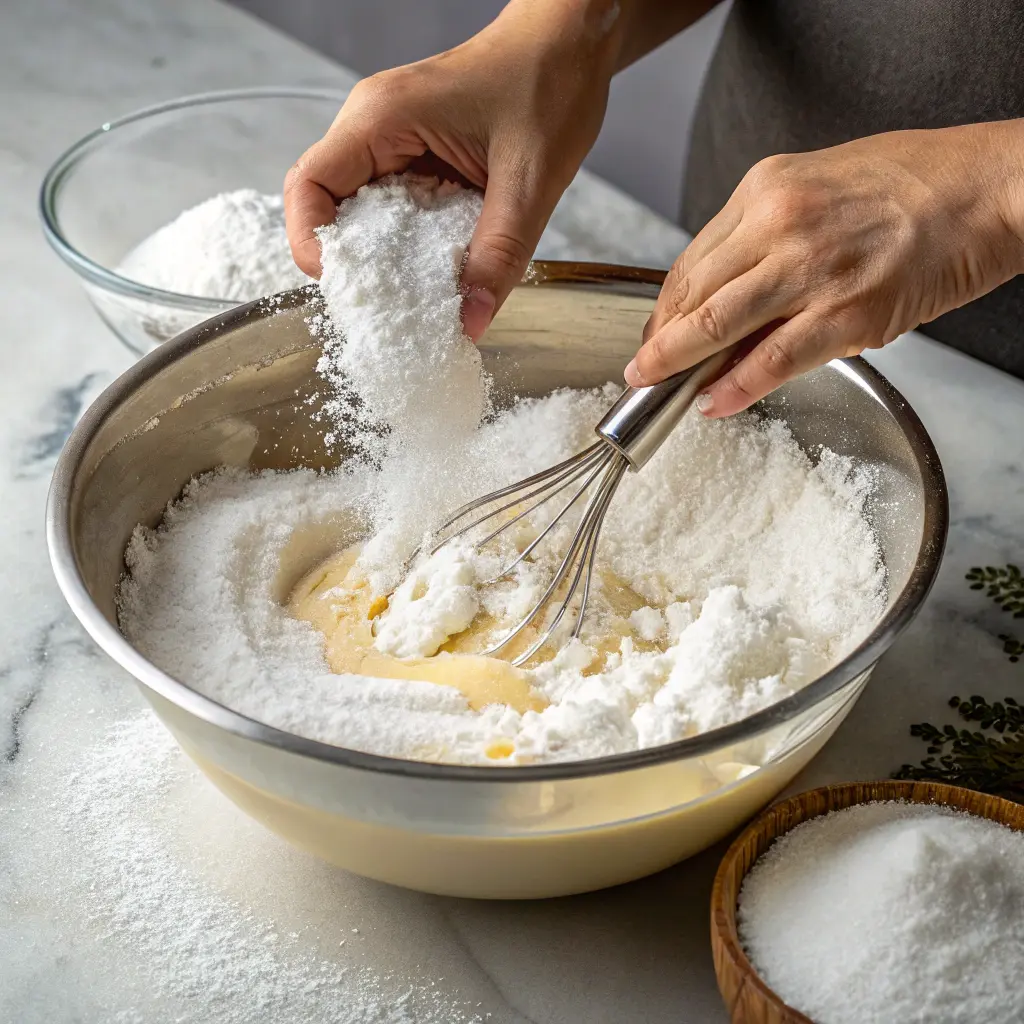
- Mix wet ingredients: In a separate bowl, combine 1 cup of milk, 1/3 cup of sugar, and 1 teaspoon of vanilla extract. Stir until the sugar dissolves completely.
- Chill the mixture: For best results, place this mixture in the refrigerator for a few minutes while gathering snow.
Combining Everything
- Pour slowly: Gradually add the milk mixture to your snow, pouring a little at a time.
- Fold gently: Use a wooden spoon or spatula to fold the liquid into the snow. Don’t stir too vigorously or you’ll melt the snow too quickly.
- Adjust consistency: Keep adding milk mixture until you reach a consistency similar to ice cream. You might not need all of the liquid mixture.
Tips for Perfect Snow Cream
- Cold bowls help: Pre-chill your mixing bowls in the freezer for about 15 minutes before making snow cream.
- Work quickly: Snow melts fast, so have all ingredients measured and ready before you start.
- Keep extra snow: Have a bowl of extra snow ready in case your mixture becomes too wet.
- Taste as you go: Add the sweet mixture gradually and taste test until you reach your perfect sweetness level.
Assembly and Presentation Ideas
Once you’ve made your basic snow cream, it’s time to have fun with presentation and toppings!
Basic Assembly
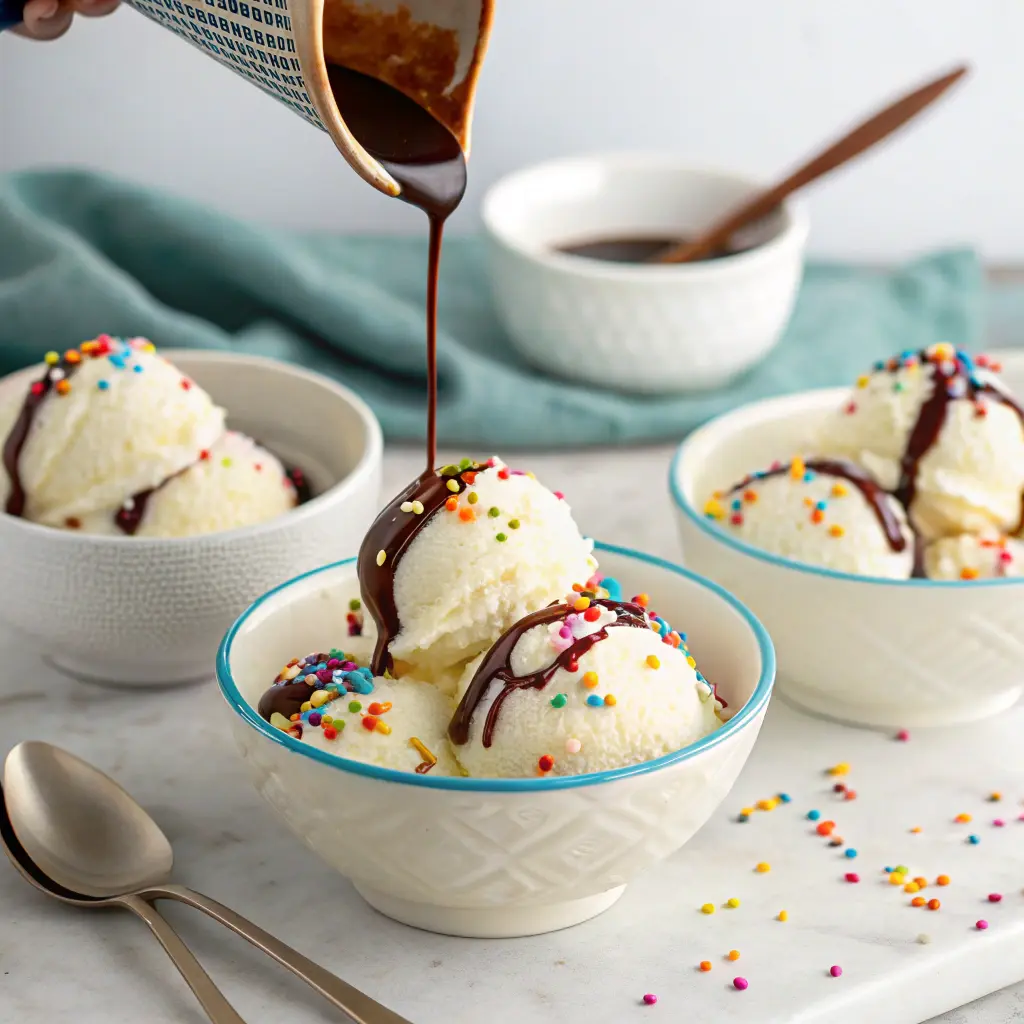
- Scoop into bowls: Use an ice cream scoop for that classic dessert look.
- Serve immediately: Snow cream melts quickly, so enjoy it right away.
Creative Presentation Ideas
- Snow Cream Sundaes: Serve in sundae glasses with toppings arranged artistically.
- Snow Cream Floats: Drop a scoop into root beer or cream soda.
- Snow Cream Sandwiches: Place a scoop between two cookies.
- Snow Cups: Serve in waffle cones or chocolate-dipped ice cream cones.
Topping Ideas
Make a topping bar with these fun options:
- Sprinkles: Colorful jimmies or seasonal shapes
- Chocolate sauce: Warm for a nice temperature contrast
- Caramel sauce: Adds rich sweetness
- Fresh fruit: Berries work well even in winter
- Crushed cookies: Oreos, graham crackers, or gingersnaps
- Candy pieces: M&Ms, crushed candy canes, or chocolate chips
- Whipped cream: Yes, cream on top of snow cream is amazing!
- Nuts: Chopped pecans, walnuts, or almonds add a nice crunch
Storage and Make-Ahead Tips
Snow cream is best enjoyed immediately after making it, but there are a few storage tricks if needed:
Short-Term Storage
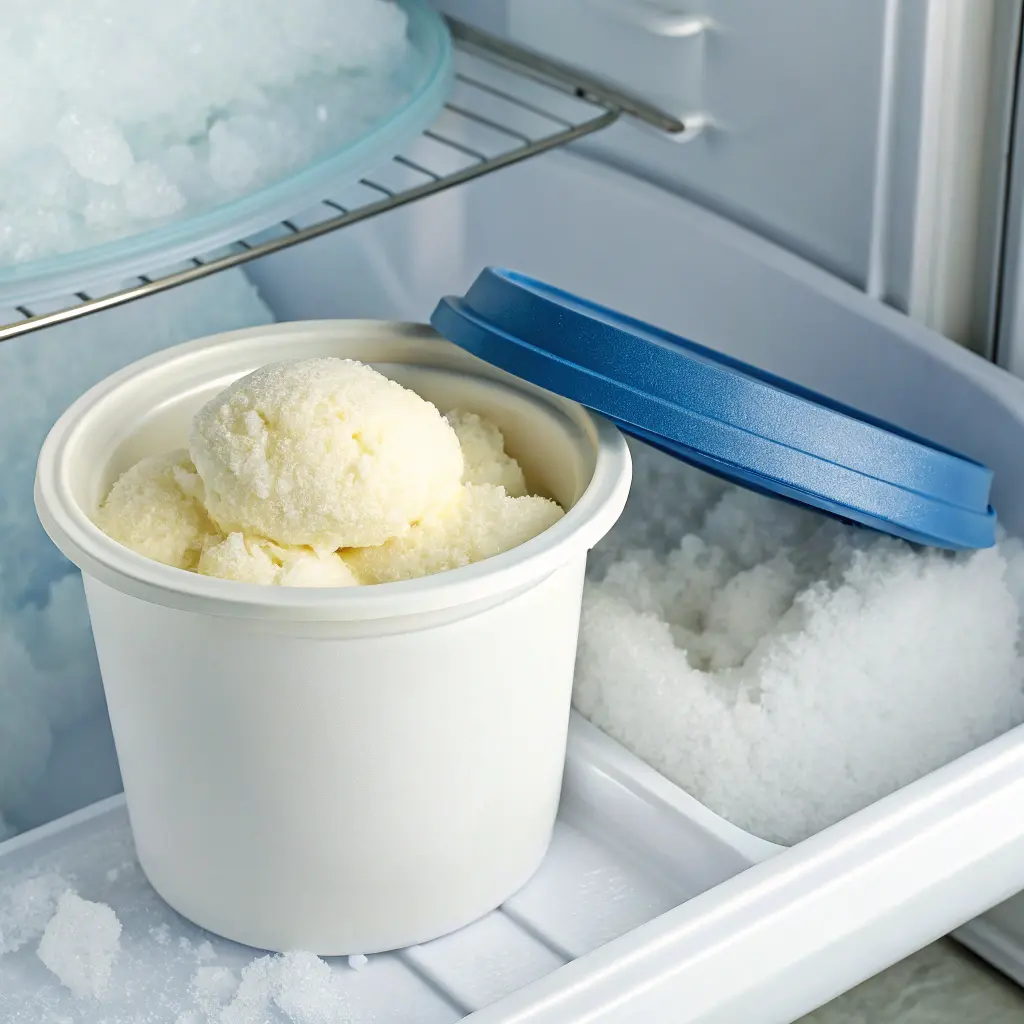
- Freezer time: Snow cream can be stored in the freezer for 1-2 hours before it loses its special texture.
- Airtight containers: Use containers with tight-fitting lids to prevent freezer burn.
- Label clearly: Mark containers with the date and flavor.
Make-Ahead Components
While snow cream itself can’t be made far in advance, you can prepare other elements:
- Pre-mix sweet base: Combine milk, sugar, and vanilla up to 24 hours ahead and store in the refrigerator.
- Prepare toppings: Chop nuts, crush cookies, and portion out sprinkles in advance.
- Set up serving station: Arrange bowls, spoons, and topping containers before gathering snow.
Tips for Refreshing
If your snow cream has been in the freezer and become too hard:
- Let it sit at room temperature for 3-5 minutes.
- Add a tiny splash of milk and gently fold to refresh the texture.
Creative Snow Cream Variations
The basic snow cream recipe is just the beginning! Try these fun variations to create exciting new flavors:
Chocolate Snow Cream
- Add 2-3 tablespoons of cocoa powder to your milk mixture
- For extra richness, include 1 tablespoon of chocolate syrup
Maple Cinnamon Snow Cream
- Replace vanilla extract with 1/4 teaspoon of cinnamon
- Substitute regular sugar with 1/4 cup maple syrup
- Sprinkle with additional cinnamon before serving
Fruity Snow Cream
- Add 2 tablespoons of strawberry preserves or fruit jam
- Mix in 1/4 cup of mashed fresh berries
- For citrus fans, add 1 teaspoon of lemon or orange zest
Cookie Monster Snow Cream
- Fold in 1/2 cup of crushed cookie pieces (Oreos work great!)
- Add 1 tablespoon of cookie butter if available
Coffee Snow Cream
- Mix in 1 tablespoon of instant coffee powder to the milk mixture
- For mocha flavor, add both coffee and cocoa powder
Peanut Butter Snow Cream
- Stir 2 tablespoons of creamy peanut butter into your milk mixture
- Add mini chocolate chips for a “peanut butter cup” flavor
Birthday Cake Snow Cream
- Add 1/4 teaspoon of almond extract along with vanilla
- Mix in 2 tablespoons of cake mix powder
- Fold in colorful sprinkles
Spiced Snow Cream
- Add 1/4 teaspoon each of cinnamon, nutmeg, and ginger
- Use brown sugar instead of white sugar
- Top with a small drizzle of molasses
Snow Cream for Different Dietary Needs
Everyone should be able to enjoy snow cream! Here are some modifications for different dietary requirements:
Dairy-Free Snow Cream
- Use coconut milk, almond milk, or oat milk instead of dairy milk
- Consider coconut cream for extra richness
- Check that your extract brands are dairy-free
Vegan Snow Cream
- Use plant-based milk
- Replace honey (if used) with maple syrup or agave nectar
- Ensure any add-ins like chocolate chips are vegan
Low-Sugar Snow Cream
- Use a sugar substitute like stevia, monk fruit sweetener, or erythritol
- Reduce the amount of sweetener and enhance flavor with extra vanilla
- Add cinnamon which provides sweetness without sugar
Gluten-Free Snow Cream
- The basic recipe is naturally gluten-free
- Be careful with add-ins like cookie pieces or certain extracts
- Read labels on toppings and flavorings
Fun Ways to Enjoy Snow Cream
Snow cream isn’t just a dessert—it’s an experience! Here are some fun ways to make it even more special:
Snow Cream Party
- Set up a snow cream bar with different toppings
- Let each person collect their own snow (in clean containers)
- Have a contest for the most creative snow cream creation
Winter Celebration
- Make snow cream as part of a winter solstice or snow day celebration
- Pair with hot chocolate for a hot-and-cold dessert experience
- Create a tradition of making snow cream after building snowmen
Educational Fun
- Use snow cream making as a science lesson about states of matter
- Discuss how the milk lowers the freezing point of water
- Experiment with different mix-ins and learn about flavor combinations
Conclusion: The Joy of Snow Cream
Snow cream is more than just a simple dessert—it’s a way to embrace winter’s magic and create sweet memories. This 10-minute treat transforms something as ordinary as snow into a delightful experience that bridges generations and brings smiles to faces young and old.
The next time snowflakes start falling, grab your bowl and head outside! With just a few pantry staples and fresh snow, you’ll be enjoying a homemade frozen treat that captures the essence of winter wonder.
Don’t be afraid to experiment with different flavors and toppings. The possibilities are as endless as snowflakes, and each batch can be a new adventure. Share your creations with friends and family, or enjoy a quiet bowl of snow cream while watching the snow continue to fall outside your window.
Remember, snow cream is one of those special seasonal treats that we can only enjoy during winter’s brief visit—so make the most of it while you can!
Frequently Asked Questions About Snow Cream
Is snow cream safe to eat?
Yes, snow cream is generally safe to eat when made with fresh, clean snow. Collect snow from elevated surfaces away from roads and walkways. Avoid using snow that has been on the ground for a long time or might be contaminated.
Can I make snow cream with artificial snow?
No, artificial snow or snow from snow machines doesn’t have the right texture and may contain chemicals. Only use natural snow that has fallen from the sky.
Why is my snow cream too watery?
This usually happens when you add too much milk mixture or when the snow starts melting quickly. Add more fresh snow to thicken it up, or place it in the freezer for 15-20 minutes to firm up.
Can I make snow cream ahead of time?
Snow cream is best enjoyed immediately after making it. While you can store it in the freezer for a short time, it won’t have the same special texture after being frozen for long periods.
Is snow cream the same as ice cream?
No, though they’re similar. Snow cream has a lighter, fluffier texture because it uses snow instead of being churned. It’s less dense than traditional ice cream and melts more quickly.
What if we don’t get snow where I live?
If you don’t get natural snow, you can make a similar treat using shaved ice from a snow cone machine or by crushing ice very finely in a blender. It won’t be exactly the same, but it’s a good alternative.
Is snow cream bad for you?
Snow cream is a sweet treat and should be enjoyed in moderation like any dessert. The basic ingredients are similar to ice cream. You can make healthier versions using less sugar or sugar alternatives.
How much snow do I need to collect?
For a family-sized batch of snow cream, collect about 8-10 cups of fresh, clean snow. This will yield approximately 4-6 servings of snow cream.
Why is my snow cream too sweet or not sweet enough?
Everyone has different sweetness preferences. Start with less of the sweet milk mixture and add more to taste. You can always add more, but you can’t take it away once mixed.
Can I add food coloring to snow cream?
Yes! Adding a few drops of food coloring to your milk mixture before combining it with snow can create fun, colorful snow cream. This is especially popular with kids.
